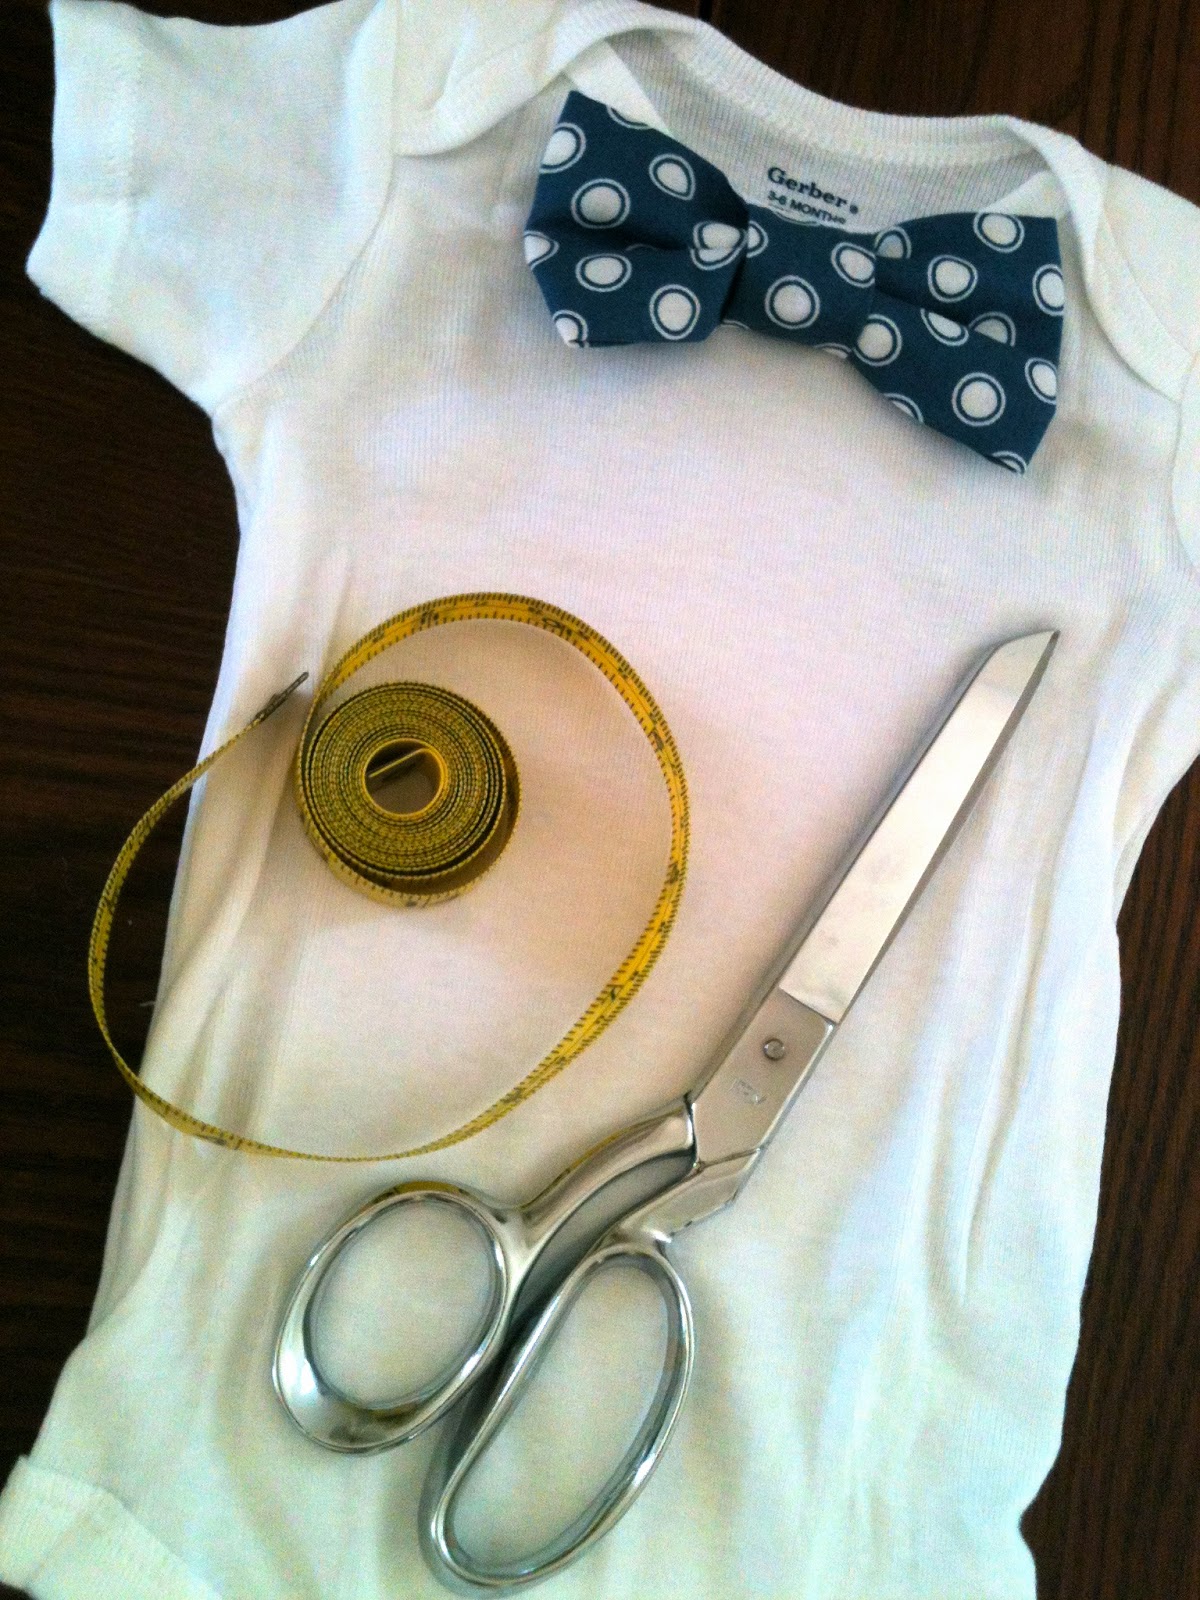
I used fabric quarters (which could give you several ties) and a few 1/4 yard pieces for this project.
First, cut a piece of fabric that is 11 1/2 inches x 5 1/2 inches and fold in half lengthwise, right sides together, and sew.

Turn your tube right-side out.
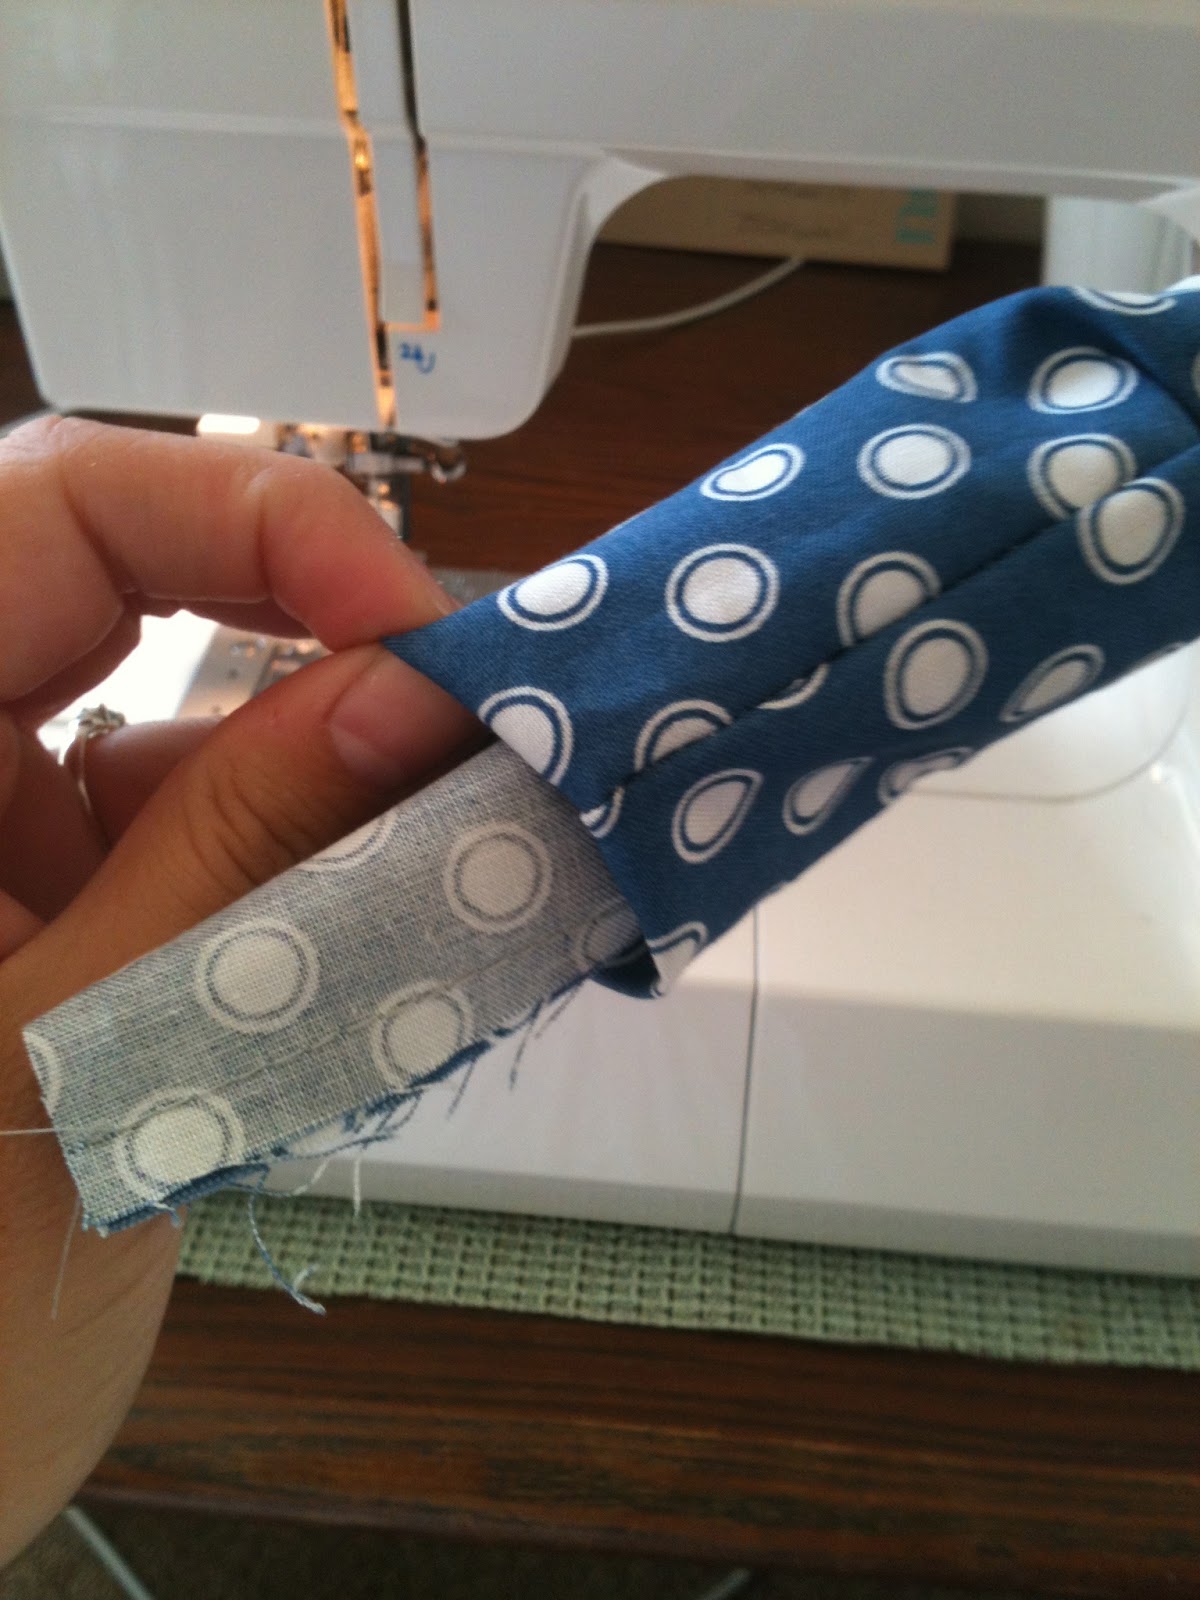
Then, take the ends, hiding the seam on the inside, and fold them one inside the other, folding down the raw edges. I folded mine to make a 4 1/2 inch wide bow.
Sew that together, taking care not to catch the front part of the bow or loop with your machine. Next, turn it right-side out and pinch the back like I did in the picture. This is optional, but I sewed a little crease where my fingers were pleating the bow to keep the shape nice. Just fold it in half and sew a little line on the back.

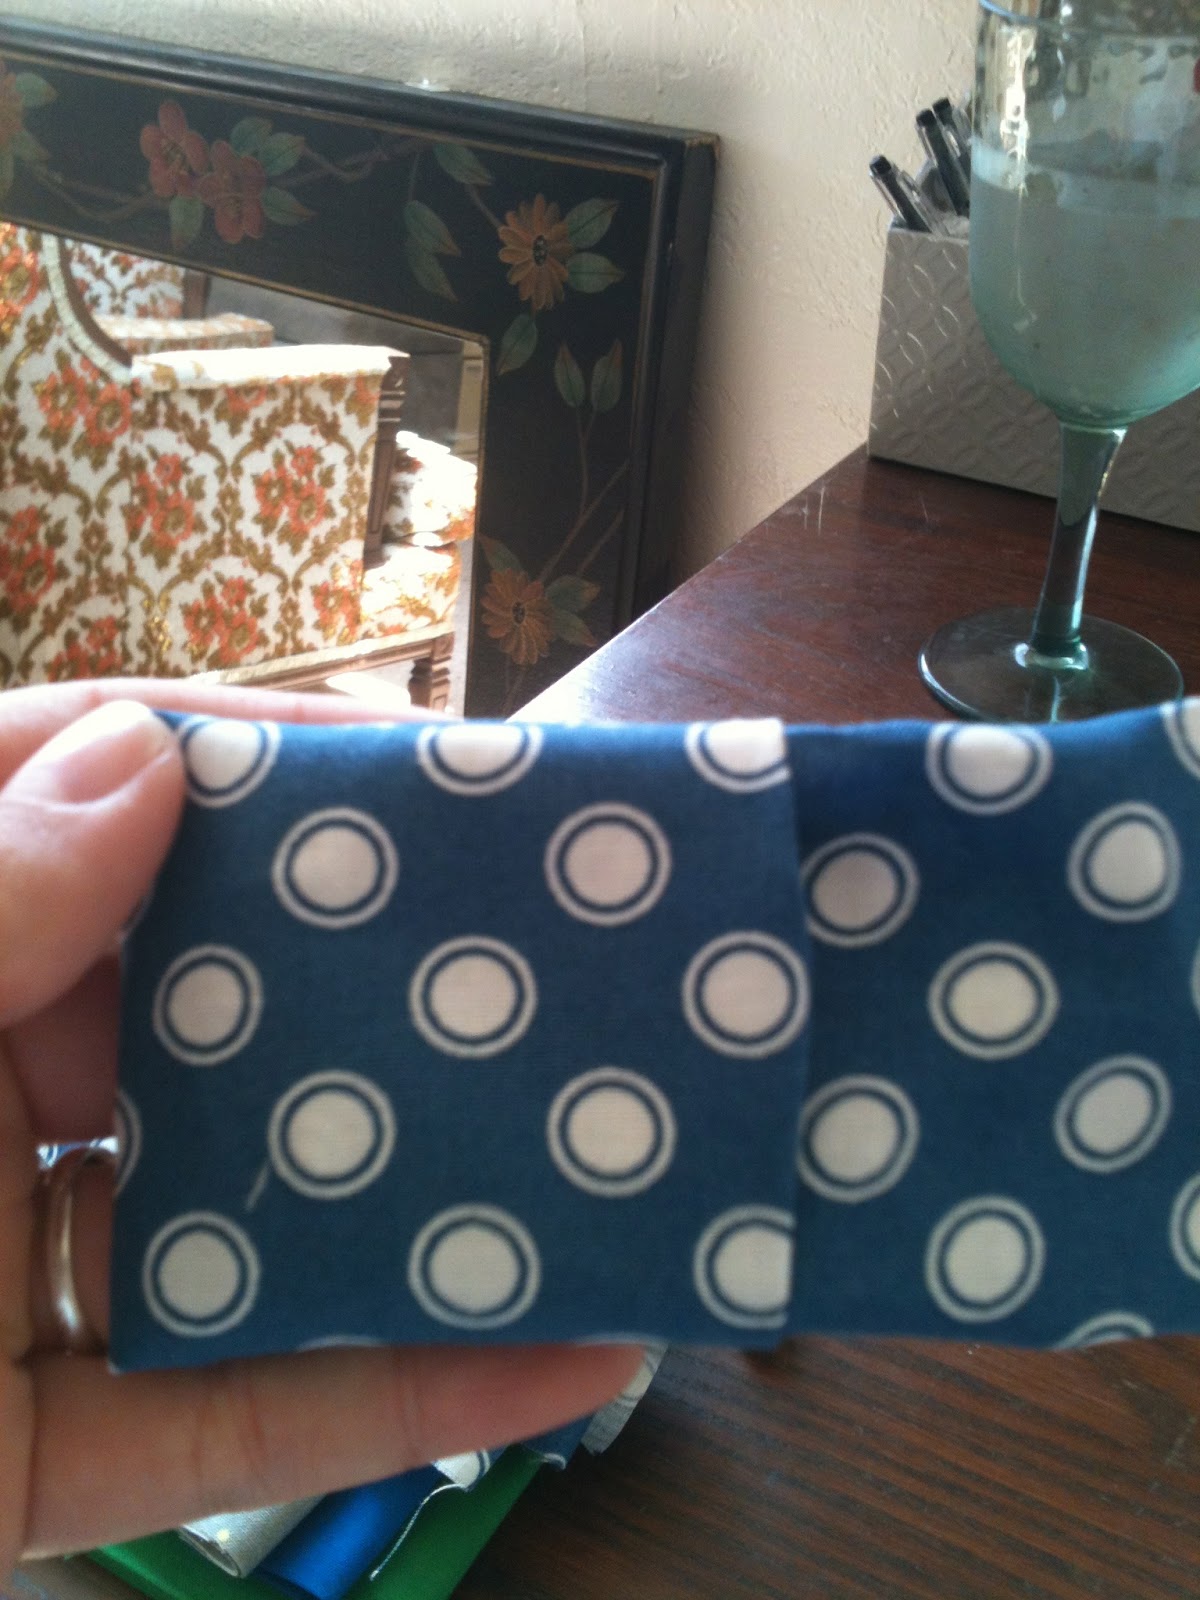
Now, make another smaller tube just like the first one. I didn't measure this, just cut the fabric twice as wide as you'd like the middle of the bow to be, sew it and turn it right-side out. I wrapped my tube around my bow to see where I wanted to sew the loop closed. Once you have a finished little cylinder thing, slide it into your bow.

Your bow should look like this! Don't worry that the middle isn't attached, you can tack it down when you hand sew on the snaps.
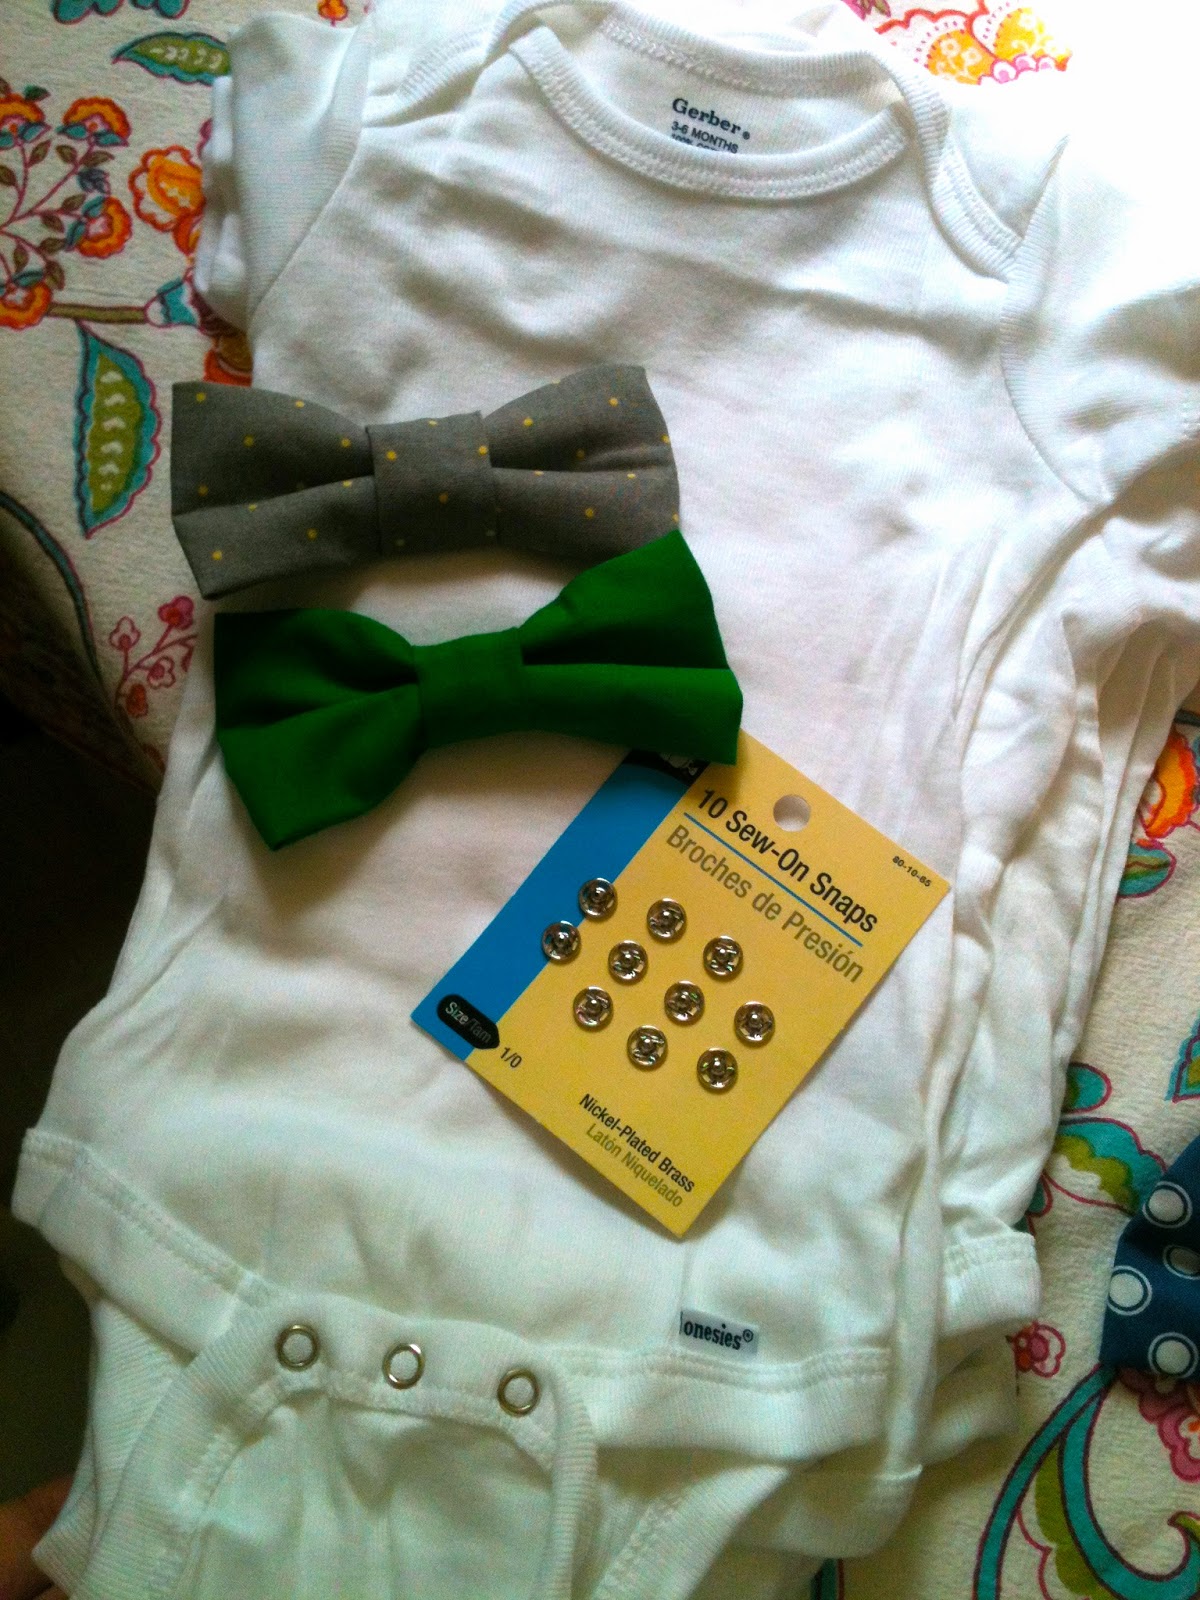
Get your trusty needle and thread and sew those snaps on both the onesie and the back of the bow-tie. Make sure they are facing the right way so that they will snap together!

And there you have it! An adorable handmade baby gift! I thought these onesies would be adorable this fall paired with a little cardigan and jeans!
No comments:
Post a Comment